
Injection Grouting Waterproofing
Controlled resin and mineral-grout injection for active leakage, concrete cracks, construction joints, honeycombs, voids and inaccessible water paths.
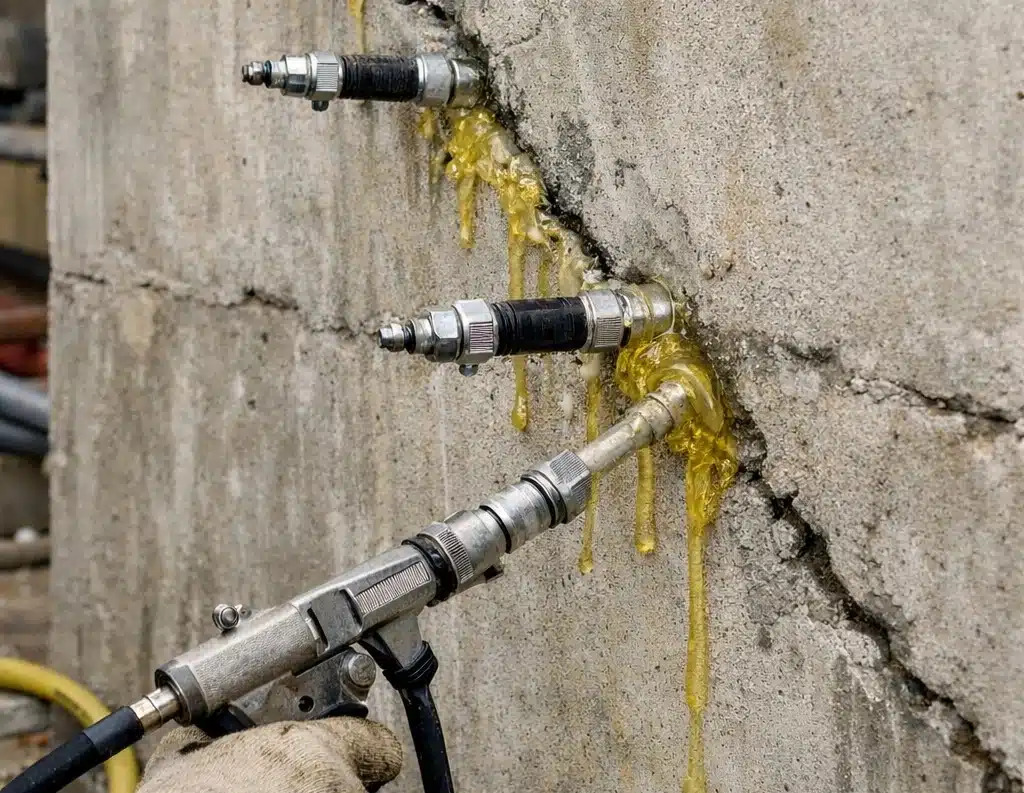
Sealing Water Paths from Within the Concrete Structure
Injection grouting pumps a selected low-viscosity resin or mineral grout into cracks, joints, voids or the ground behind a structure. The material follows internal leakage paths and seals locations that cannot be reached using conventional surface-applied waterproofing.
Injection Grouting Waterproofing in Dubai
Injection grouting is a targeted leakage-repair technique in which selected resin or mineral grout is pumped into concrete cracks, construction joints, honeycombs, voids or the ground behind a structure. The injected material seals internal water paths that may be inaccessible from the exposed surface.
The correct material and injection pressure depend on whether the crack is wet or dry, moving or stable, structural or non-structural, and whether the objective is leak stopping, structural bonding, void filling or curtain injection. Open a system below to review its process and advantages.
Short description
A low-viscosity polyurethane resin injected into wet cracks, leaking construction joints, penetrations and voids. Water-reactive grades foam and expand on contact with moisture, while flexible gel-forming grades create an elastic seal.
Application process
- Trace the leakage path and assess crack width, depth, movement and water flow.
- Drill angled holes so that they intersect the crack or leaking joint inside the concrete.
- Clean the drill holes and install mechanical injection packers.
- Inject the approved PU resin using a controlled-pressure injection pump.
- Continue progressively from one packer to the next until resin reaches the adjacent packer and leakage is controlled.
- Allow the resin to react and cure, then reinject any remaining leaking sections where required.
- Remove the packers, repair the holes and finish the concrete surface.
Advantages
- Suitable for active water leakage and water-bearing cracks.
- Expanding grades can fill irregular cracks, gaps and internal voids.
- Rapid reaction helps control heavy water flow.
- Flexible grades accommodate limited crack or joint movement.
- Can be installed from the accessible side without external excavation.
- Effective around joints, pipe entries, tie holes and honeycombed concrete.
Short description
A low-viscosity, two-component structural resin injected into dry or suitably prepared non-running cracks. After curing, it bonds the separated concrete faces and restores structural continuity where confirmed by the project engineer.
Application process
- Assess the crack and confirm that active water flow has been stopped.
- Clean and dry the crack surface as required by the approved resin system.
- Fix surface injection ports or install drilled packers at the specified spacing.
- Seal the exposed crack face with epoxy paste to prevent resin loss.
- Inject mixed epoxy at low, controlled pressure, starting from the lowest port on vertical cracks.
- Continue until resin appears at the next port, close the previous port and proceed sequentially.
- Allow complete curing, remove ports and surface seal, then finish and inspect the repair.
Advantages
- High bond, tensile and compressive strength.
- Can restore structural continuity across suitable stable cracks.
- Low-viscosity grades penetrate fine cracks.
- Provides a durable and rigid repair.
- Suitable for slabs, beams, columns and walls after engineering assessment.
Important limitation
Rigid epoxy is not suitable for actively leaking or moving cracks unless the water and movement are controlled. Structural crack repairs must follow the engineer’s approved repair design.
Short description
An injectable mineral slurry produced from very finely ground cement and approved admixtures. It is used to fill concrete honeycombs, masonry voids, soil fissures, rock joints and larger internal cavities.
Application process
- Survey the defective area and determine the extent of voids or honeycombing.
- Drill injection holes in the approved grid pattern and depth.
- Flush or clean the holes and install injection nipples or packers.
- Mix the microfine cement grout using measured water and mechanical agitation.
- Inject under low-to-medium controlled pressure in the planned sequence.
- Continue until refusal, the specified volume is reached or grout appears at the adjacent port.
- Allow curing, remove ports, repair the holes and verify that all voids are filled.
Advantages
- Cost-effective for larger voids and higher injection volumes.
- Mineral composition is compatible with concrete and masonry.
- Adds solid mass and consolidates loose or honeycombed areas.
- Lower heat generation than many conventional cement grouts.
- Suitable for foundations, tunnels, retaining walls and concrete repair.
Short description
An ultra-low-viscosity, multi-component acrylic gel injected through the structure or into cracks and joints. For curtain injection, it reacts behind the concrete to form a flexible waterproof barrier between the structure and surrounding soil.
Application process
- Survey the seepage area and prepare an engineered drilling and injection pattern.
- Scan for reinforcement and services before drilling through the wall or slab.
- Drill matrix-pattern holes to the soil-side interface and install injection packers.
- Set the approved gel reaction time for the ground and water conditions.
- Inject the acrylic components using suitable multi-component equipment.
- Proceed systematically until gel coverage overlaps between injection points.
- Monitor leakage, complete secondary injection where necessary and verify the sealed area.
- Remove packers and repair all drill holes after completion.
Advantages
- Water-like viscosity penetrates very fine cracks and pores.
- Creates an external waterproof curtain without excavation.
- Useful behind inaccessible basement walls and slabs.
- Flexible gel accommodates limited movement.
- Adjustable reaction time supports different ground and leakage conditions.
- Can treat broad seepage areas rather than only visible crack lines.
Injection Grouting Process Gallery
Click any image to view packer installation, resin injection and active-leak stopping in full size.
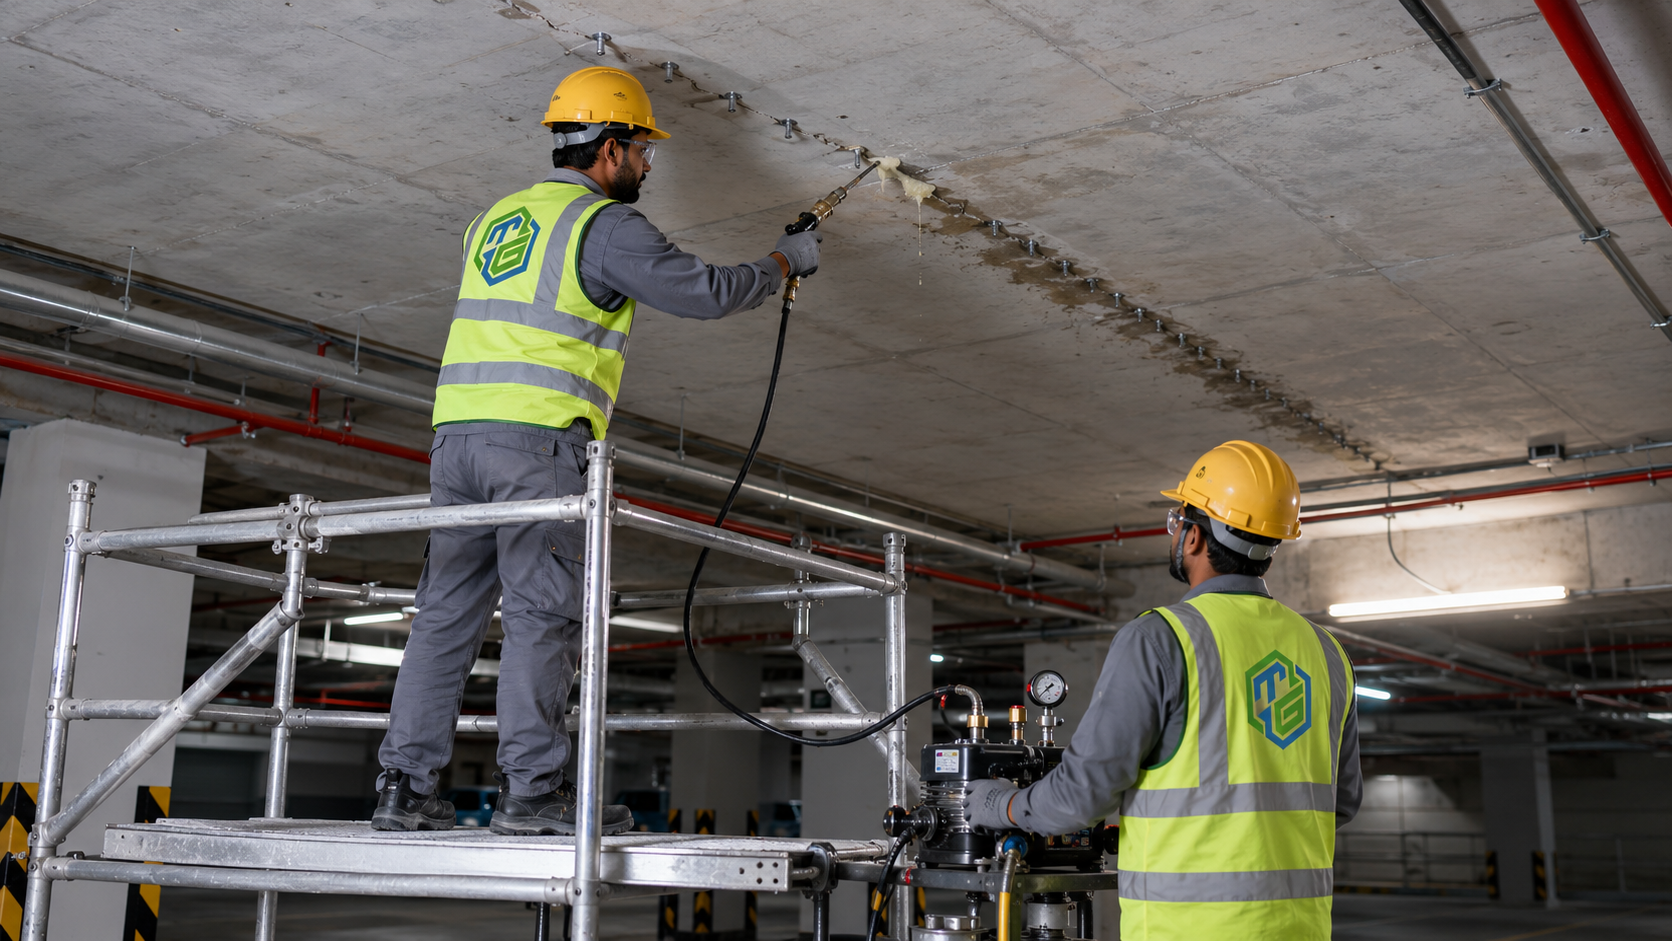

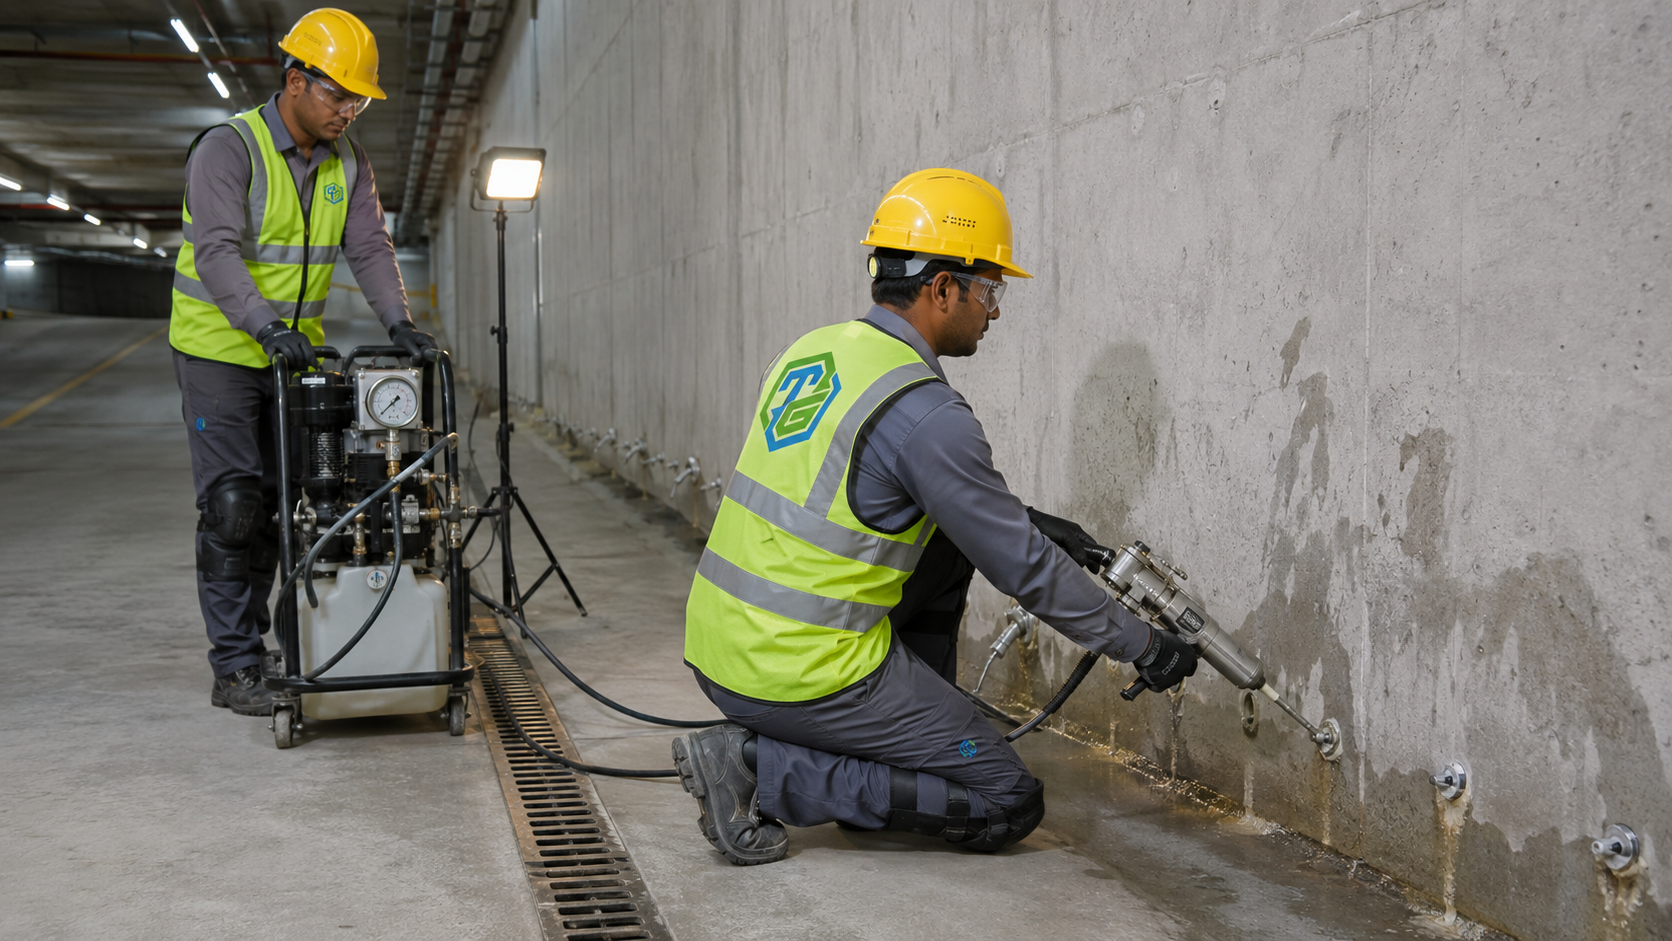
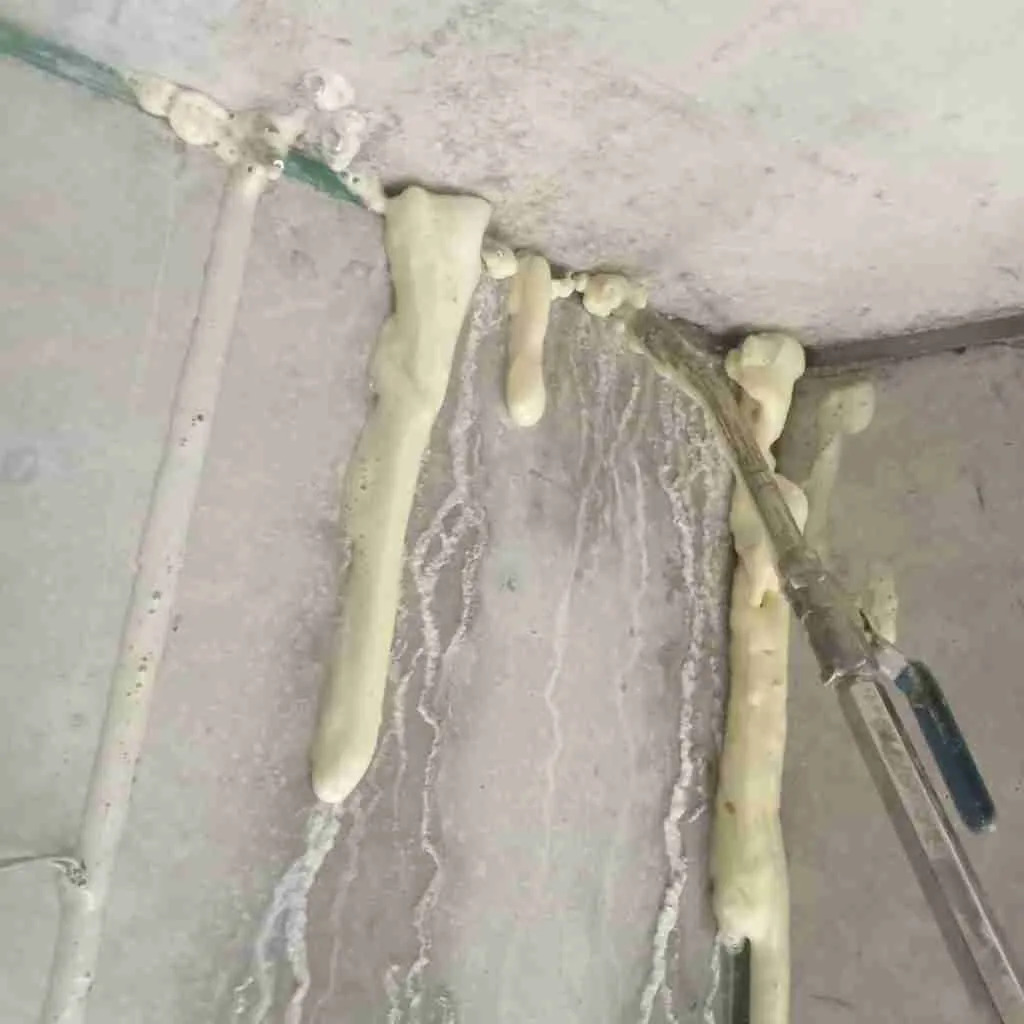
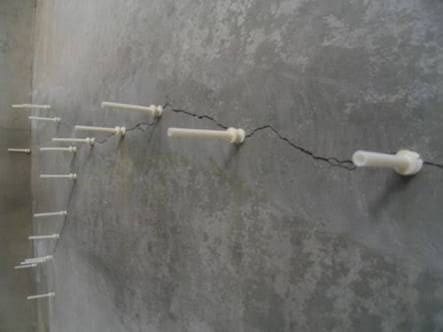
Typical PU Injection Grouting Process
- Survey and map the crack, joint and visible leakage locations
- Confirm whether the crack is active, wet, dry, moving or stable
- Select the approved hydrophilic or hydrophobic PU injection resin
- Drill angled holes to intersect the crack or construction joint
- Clean the drill holes and install mechanical injection packers
- Inject using controlled pressure from the lowest point upward
- Continue until resin reaches the next packer or leakage stops
- Allow the resin to react and cure before removing packers
- Seal packer holes with approved repair mortar
- Clean the surface and verify that leakage has stopped
Injection Grouting Selection and Quality Control
Injection pressure must not be selected only by pump capacity; excessive pressure can widen cracks, damage weak concrete or force material into unintended areas. Work must follow an approved method statement covering leak mapping, drilling, packer spacing, reaction time, injection sequence, pressure and consumption records, curing, finishing and final leakage verification.